Summary
Adding a trust between your AWS account and FortMesa will allow us to:
- Read information about your EC2 instances.
- Write resource tags to help track assets.
- Use AWS Systems Manager to inventory software.
- Run AWS Inspector to scan for vulnerabilities.
Our software will not have permissions to run arbitrary commands or read stored data.
For AWS's recommendations on granting third party access to your account review their documentation.
Creating a Restricted Access Policy for FortMesa
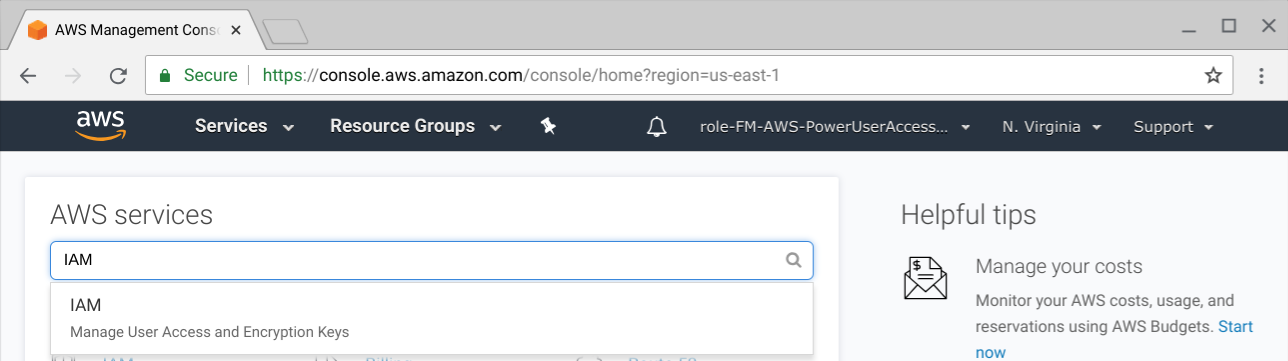
Find the IAM Dashboard
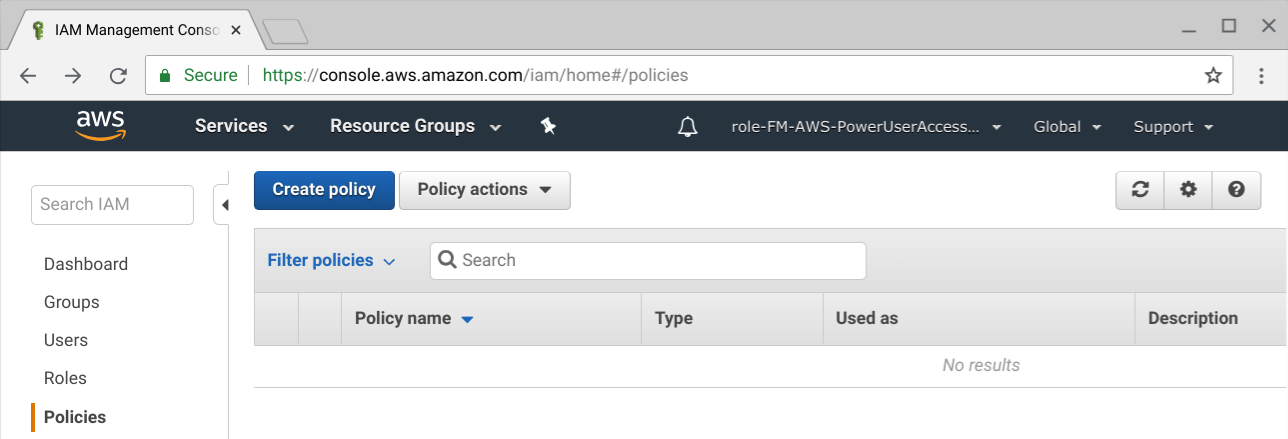
Create a New Policy
Input the FortMesa Policy JSON
Screenshot inline, copy-and-paste the JSON policy below.

The below least-access JSON policy allows us to:
- Validate this policy.
- Read EC2 metadata and write tags to assist with inventory tracking.
- Configure and call AWS Inspector to scan for vulnerabilities.
- Configure and collect basic system telemetry and software inventory using AWS Systems Manager.
{
"Version": "2012-10-17",
"Statement": [
{
"Sid": "FortMesaInspectorPolicy",
"Effect": "Allow",
"Action": [
"inspector:ListAssessmentRunAgents",
"inspector:ListAssessmentRuns",
"inspector:ListAssessmentTargets",
"inspector:ListAssessmentTemplates",
"inspector:ListFindings",
"inspector:ListRulesPackages",
"inspector:ListTagsForResource",
"inspector:DescribeAssessmentRuns",
"inspector:DescribeAssessmentTargets",
"inspector:DescribeAssessmentTemplates",
"inspector:DescribeCrossAccountAccessRole",
"inspector:DescribeFindings",
"inspector:DescribeResourceGroups",
"inspector:DescribeRulesPackages",
"inspector:GetTelemetryMetadata",
"inspector:CreateAssessmentTarget",
"inspector:CreateAssessmentTemplate",
"inspector:CreateResourceGroup",
"inspector:DeleteAssessmentRun",
"inspector:DeleteAssessmentTarget",
"inspector:DeleteAssessmentTemplate",
"inspector:RegisterCrossAccountAccessRole",
"inspector:SetTagsForResource",
"inspector:StartAssessmentRun",
"inspector:StopAssessmentRun",
"inspector:UpdateAssessmentTarget"
],
"Resource": "*"
},
{
"Effect": "Allow",
"Action": [
"iam:PassRole"
],
"Resource": "*",
"Condition": {
"StringEquals": {
"iam:PassedToService": [
"inspector.amazonaws.com"
]
}
}
},
{
"Effect": "Allow",
"Action": "iam:CreateServiceLinkedRole",
"Resource": "arn:aws:iam::*:role/aws-service-role/inspector.amazonaws.com/AWSServiceRoleForAmazonInspector",
"Condition": {
"StringLike": {
"iam:AWSServiceName": "inspector.amazonaws.com"
}
}
},
{
"Sid": "FortMesaEC2Policy",
"Effect": "Allow",
"Action": [
"ec2:DescribeTags",
"ec2:CreateTags",
"ec2:DescribeInstances",
"ec2:DescribeInstanceStatus",
"ec2:DescribeInstanceAttribute",
"ec2:DescribeRegions",
"ec2:DescribeAvailabilityZones",
"ec2messages:GetMessages"
],
"Resource": "*"
},
{
"Sid": "FortMesaReadPolicy",
"Effect": "Allow",
"Action": [
"iam:GetPolicyVersion",
"iam:GetPolicy"
],
"Resource": [
"arn:aws:iam::*:policy/FortMesa*"
]
},
{
"Sid": "FortMesaReadRole",
"Effect": "Allow",
"Action": [
"iam:ListAttachedRolePolicies"
],
"Resource": [
"arn:aws:iam::*:role/FortMesa*"
]
},
{
"Sid": "FortMesaSSMPolicy",
"Effect": "Allow",
"Action": [
"ssm:ListInventoryEntries",
"ssm:UpdateAssociation",
"ssm:StopAutomationExecution",
"ssm:DeleteAssociation",
"ssm:StartAutomationExecution",
"ssm:StartAssociationsOnce",
"ssm:DescribeInstanceInformation",
"ssm:RemoveTagsFromResource",
"ssm:DescribeInstancePatchStates",
"ssm:CreateAssociation",
"ssm:AddTagsToResource",
"ssm:DeleteResourceDataSync",
"ssm:ListTagsForResource",
"ssm:ListResourceDataSync",
"ssm:CreateResourceDataSync",
"ssm:ListAssociations",
"ssm:DescribeAssociation",
"ssm:GetDeployablePatchSnapshotForInstance",
"ssm:GetDocument",
"ssm:GetManifest",
"ssm:GetParameters",
"ssm:ListAssociations",
"ssm:ListInstanceAssociations",
"ssm:PutInventory",
"ssm:PutComplianceItems",
"ssm:PutConfigurePackageResult",
"ssm:UpdateAssociationStatus",
"ssm:UpdateInstanceAssociationStatus",
"ssm:UpdateInstanceInformation",
"ssm:ListDocuments",
"ssm:ListDocumentVersions",
"ssm:describeDocument",
"ssm:describeInstanceAssociationsStatus"
],
"Resource": "*"
},
{
"Sid": "FortMesaS3Policy",
"Effect": "Allow",
"Action": [
"s3:ListAllMyBuckets",
"s3:GetBucketLocation"
],
"Resource": "*"
},
{
"Sid": "FortMesaS3Policy2",
"Effect": "Allow",
"Action": [
"s3:ListBucket",
"s3:GetBucketAcl",
"s3:GetBucketPolicy"
],
"Resource": "arn:aws:s3:::*"
},
{
"Sid": "FortMesaRDSPolicy",
"Effect": "Allow",
"Action": [
"rds:DescribeDBInstances",
"rds:ListTagsForResource"
],
"Resource": "*"
}
]
}
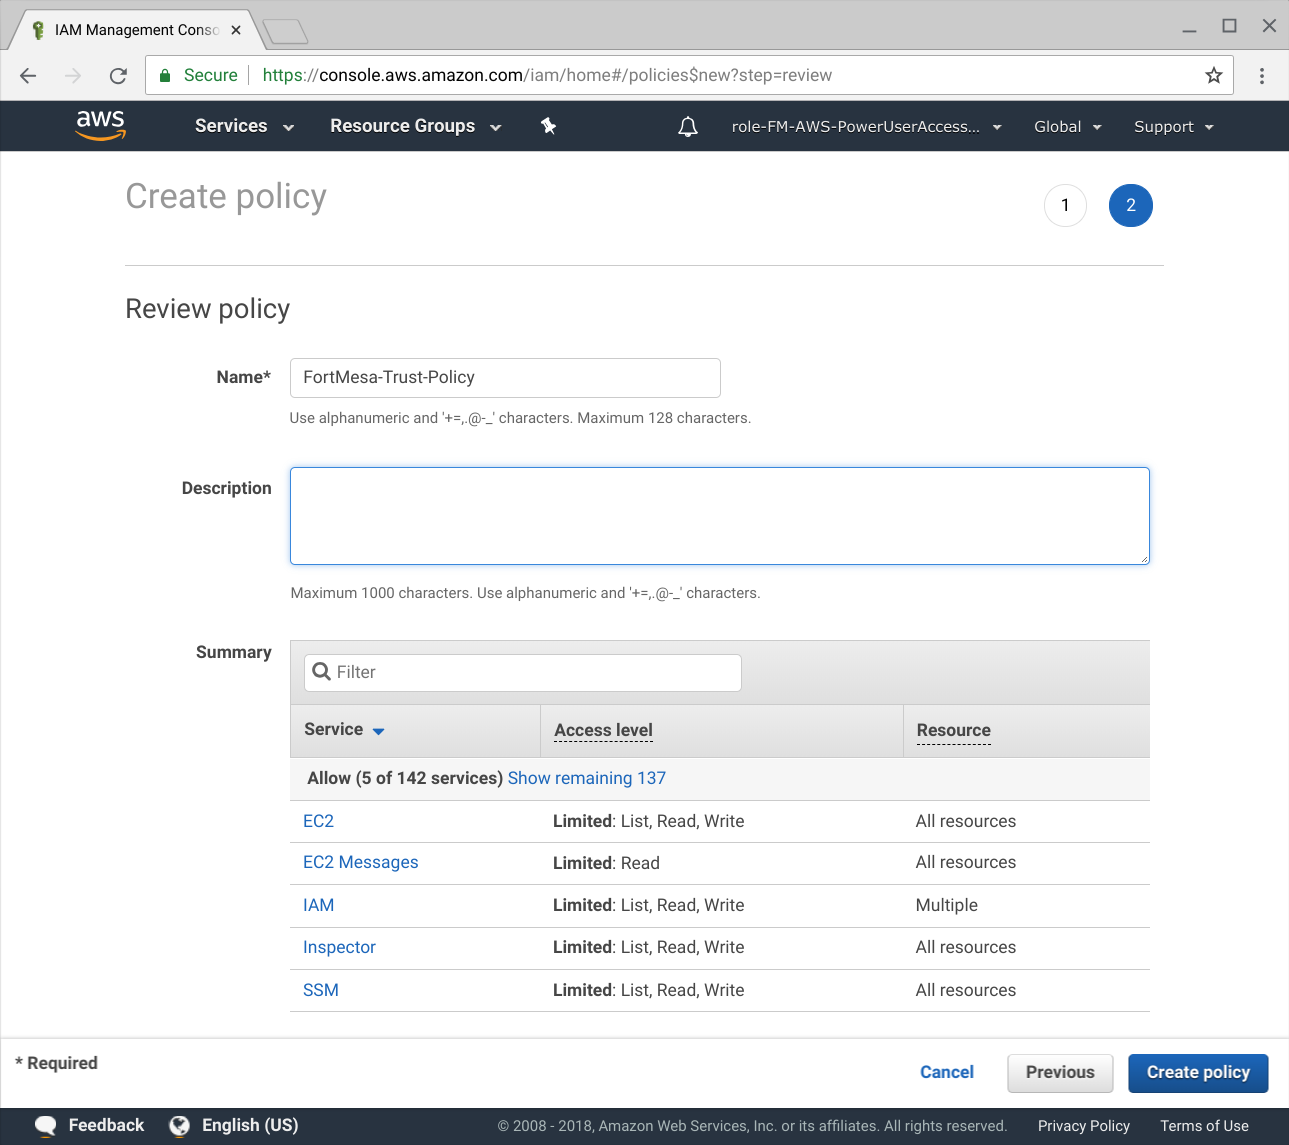
Review and Name Policy
The name should always be FortMesa-Trust-Policy for us to properly validate the trust configuration.
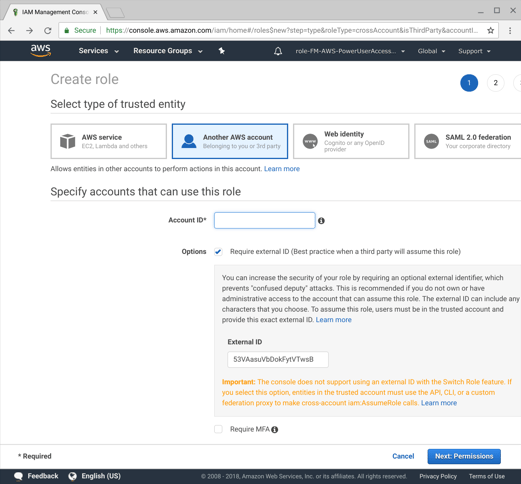
Add a 3rd Party Role we can Assume
Create Role
Still in the IAM Dashboard you need to create a role for FortMesa.
- Select the "Another AWS Account" type.
- Input our AWS account number 869756787046.
- The External ID generated by the FortMesa software.
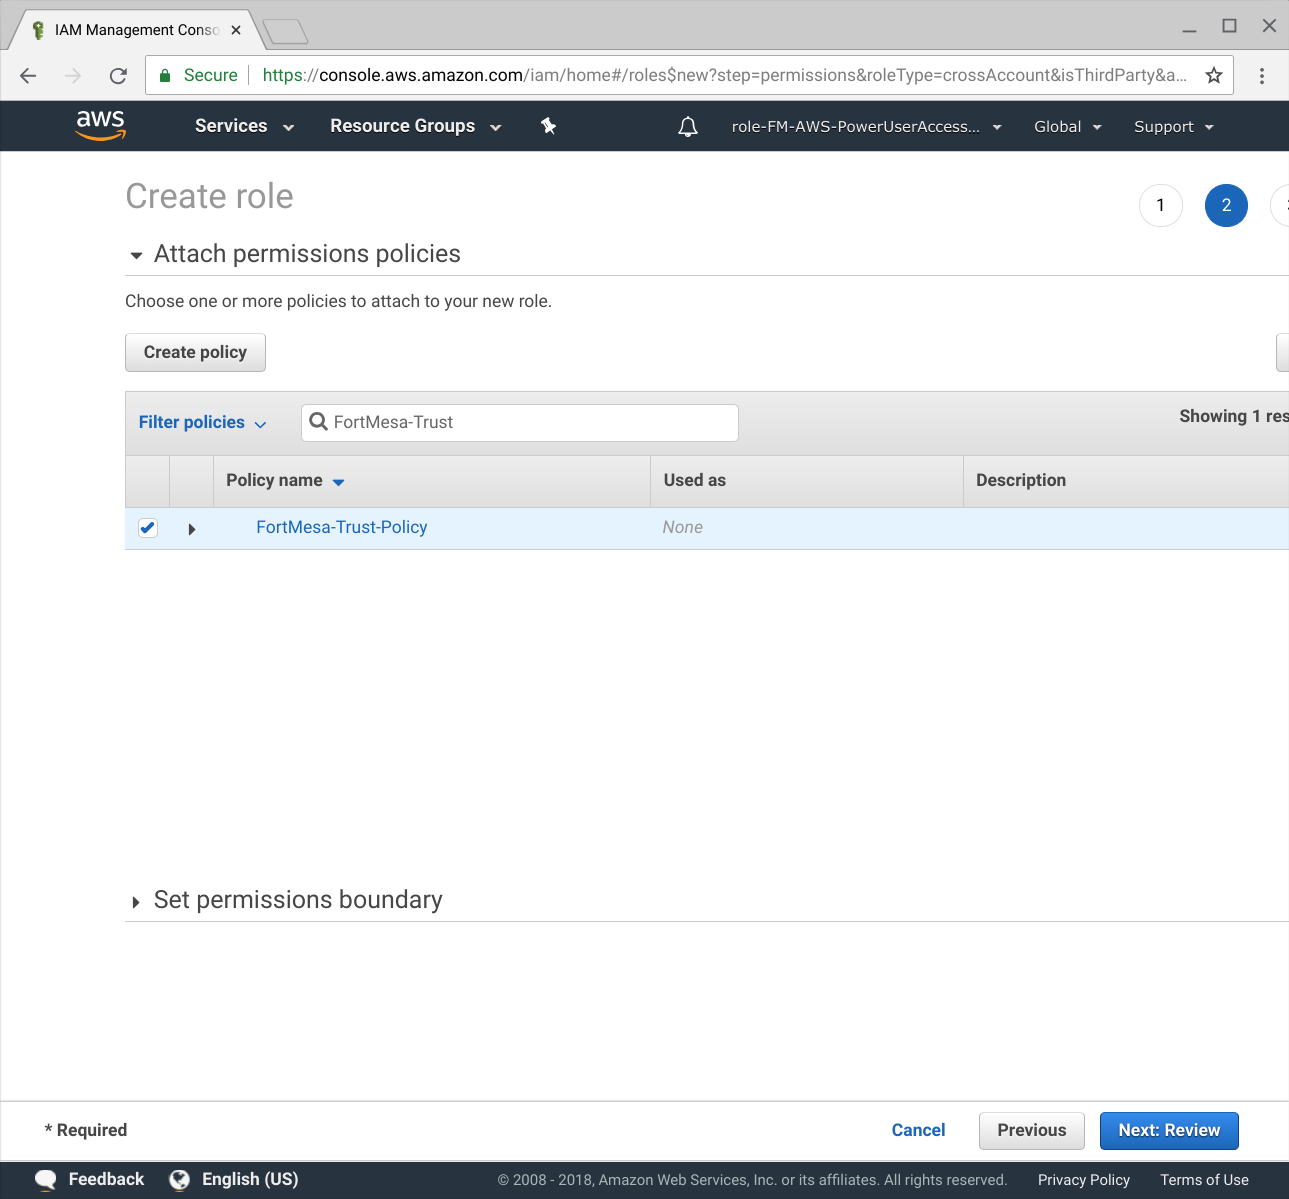
Attach Trust Policy
Attach the access policy you already created in the previous step. Use the search box to quickly find it.
Name the Role
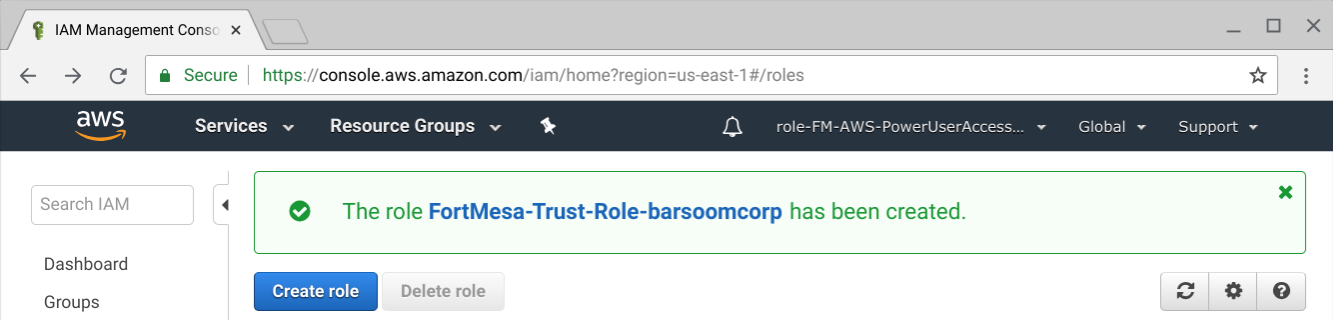
As instructed in our software input the Role name: FortMesa-Trust-Role-[scopename].
You can see in the example below the security scope was barsoomcorp with a company login page of barsoomcorp.fortmesa.com.
Make sure to name the role appropriately so we can validate the trust properly. This field is case sensitive.

Role Created!